Contrary to what is usually put forward about the program ability to play through the net (and it is also true of other VTTs), Maptool is also (mainly?) a fabulous tool to play in "normal" face to face games with the players gathered around a table (and also to play by forums, but that's for another post).
Maptool is not specifically designed for one particular game (if you use it "out of the box", it is a simple whiteboard upon which you can move your game tokens). It is still possible to adapt Maptool for the game you play, and the way you play it, by developping a framework.
It is the framework that I have developped to play Savage Worlds with my gaming group that I intend to present here. Or, more precisely it is the english version of the framework I use in french.
Maptool can be downloaded here.
You'll find further explanations, ideas or solutions here.
First, I must stress that I use Maptool exclusively to play face to face games, with real players, and not to play online. I use Maptool as a display for my players and to record easily gaming stuff. You'll find a compleat explanation about the setup I use here, but, basically, it is simply a computer with a second screen attached to it.
The framework (meaning all the automated functions I have programmed) is the result of that way to use Maptool; and, a lot of things that could have been added or programmed for gaming online (like dice throws for exemple) are done around the table and are not part of the framework.
If you prefer a more compleat and automated framework, you should download Savage Troll's framework which shall let you use much more features.
Here is what Maptool looks like when using my framework:

As you can see, selecting a token (or even just moving the mouse on it) shows the portrait associated to the token and reveals a small window with a few informations. The informations are going to be different if the token is a PC or a NPC. The map, shown on the right occupies the main part of the screen (you only see a fraction here, it goes further to the right). And there is a column on the left that can display the tokens and maps library or the Campaign Macros, by toggling the tabs at the bottom. It is all we are going to use.
We are going to review all those campaign macros.
Let us see what those controls do.
The first button (Character Sheet) reveals the character sheet associated with a token.

Here is, for exemple, the sheet of the character that was visible above:

The second control (Input) let you fill or modify the character sheet. After clicking the button, you can select different categories and fill or check the fields.
Content should be self explaining.
The next controls (Wounds, Fatigue, Power and Bennies) let you modify the character state by managing the values that can change during the game.

Increasing wounds and fatigue points can trigger the display of some states on the token (for exemple, a wildcard shall be "Out" after three wounds, whilst a non wild card shall be eliminated after just one,...). Moreover, malus from wounds and fatigue shall be displayednear the character's portrait.
But, to give the maximum of freedom to the GM, he can override those states and put them on or off with the next row of controls (States).

Here is what those states look like:

Out means that a wildcard has been put out of the fight through wounds or fatigue. It can also be attributed directly by the GM depending of what happens in the scenario (any reason for which a character, wildcard or not, should be inconscious or unable to take actions).

Death is displayed when a non wildcard character receives a wound. It can be activated by the GM depending on the results of wounds on a wildcard.

The Shaken state can be the result of different things in Savage Worlds. So, it is the GM who must handle it..

Next two controls, from the Appearance category let you play with the portrait, image or handout of a token (or object).
To understand what it is about, you must know that it is possible to associate three images with a token (or an object).
-the image, the token as it appears on the map
-the portrait that appears when you put your mouse on a token
-a handout, an image that you can show to give informations during the game (basically, it is used to show a handout carried by the token, hence the name).
The controls here let you change the category of those images to obtain effects during the game.
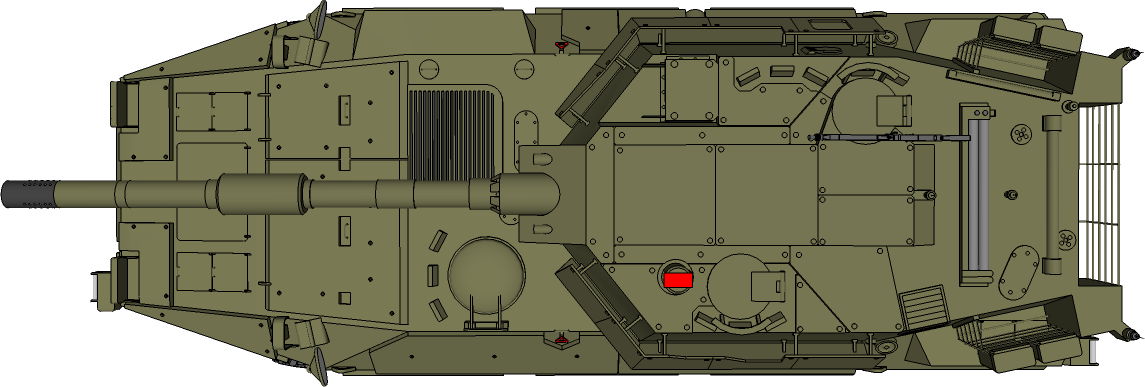
The first control of the row (Image), let you exchange the image of a token and its handout image. Not too useful for a character, but it enables you to give two images to an object and change from one to the other. For exemple, you can have a lorry with an outside image and an inside one showing its contents. The two images must have the same size.
The second control (Portrait) let you exchange the portrait and the handout of a token. It lets you change a character from a charming old lady into an horrible ghoul. Your players will love that. The two portraits must have the same size.
Next row of controls (Maps) let you manipulate the elements on the map.
Before anything else, always check the layer you are on, before selecting, moving or manipulating anything on the map. It shall save you a lot of frustating moments.

First control (O H) let the GM move a selected feature from the layer Objects to the layer Hidden, which makes it invisible to the players, but still visible to the GM. Doing it again shall make the reverse operation (from Hidden to Objects).
The second control (PCs) let the GM move all the tokens that are tagged as PCs, from the current map to another map.
Third control (Select) let the GM move all the selected tokens from the current map to another map.
The last two controls (Z- et Z+) enable you to change the position of elements stacked together and that are sometimes difficult to select or drag because they cover each others.
It also gives you the possibility to stack different parts of a structure (the decks of a ship for exemple) and go from one to the other.

The last row lets you associate some effects (lights or areas) to tokens on the map.
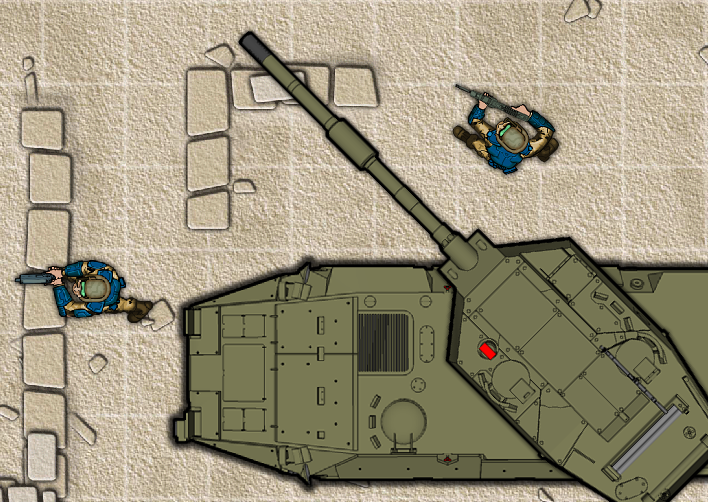
The first one (Areas) let you associate a template to a character or an object. Mostly useful for area effects like explosions.
The Lighting button lets you associate à kind of light to a character (you can see the torchlight effect above).
The X control removes the lights and areas associated with a token.

-Invisible-Players view-

-Invisible-GM view-
Controls Invis et Vis make a token respectively invisible or visible. On the player's screen the token disappear (or re-appear); on the GM's screen, the token receives a small mark (see above) to show the GM that the token is not visible to the PCs.
Finally, it is important to note that only the edges/hindrances/powers of the Savage Worlds Explorer's Edition are integrated in the framework.
So, if you must add edges/hindrances/powers from supplements or from your own worlds, you must add the new edge/hindrance/power
If, for exemple, you want to add something called Code of Honor, you must:
In the properties list:
- declare the new property:
exemple: CodeofHonor:0
- add it to the line of edges or hindrances or powers
exemple: [r: if( CodeofHonor>0, " Code of Honor", "")]
In the macros:
in the macro "Input", you must add it among the edges or hindrances or powers:
exemple: "CodeofHonor|" + CodeofHonor + "|Code of honor|CHECK",
That's all, you don't even have to understand how it works if you do it correctly (it should be entered as the others elements of the same category).
In the exemples above CodeofHonor is the name that Maptool shall use and Code of Honor is the name as it shall appear on the macros windows and on the character sheet.
Now, I just need to give you the link to the framework. Just open it in Maptool and you are ready.
Don't hesitate to change anything you want in the framework. Experiment. It is one of the pleasures of Maptool. And if you have any question, please ask, either here or on a forum.

Now, I just need to give you the link to the framework. Just open it in Maptool and you are ready.
Don't hesitate to change anything you want in the framework. Experiment. It is one of the pleasures of Maptool. And if you have any question, please ask, either here or on a forum.