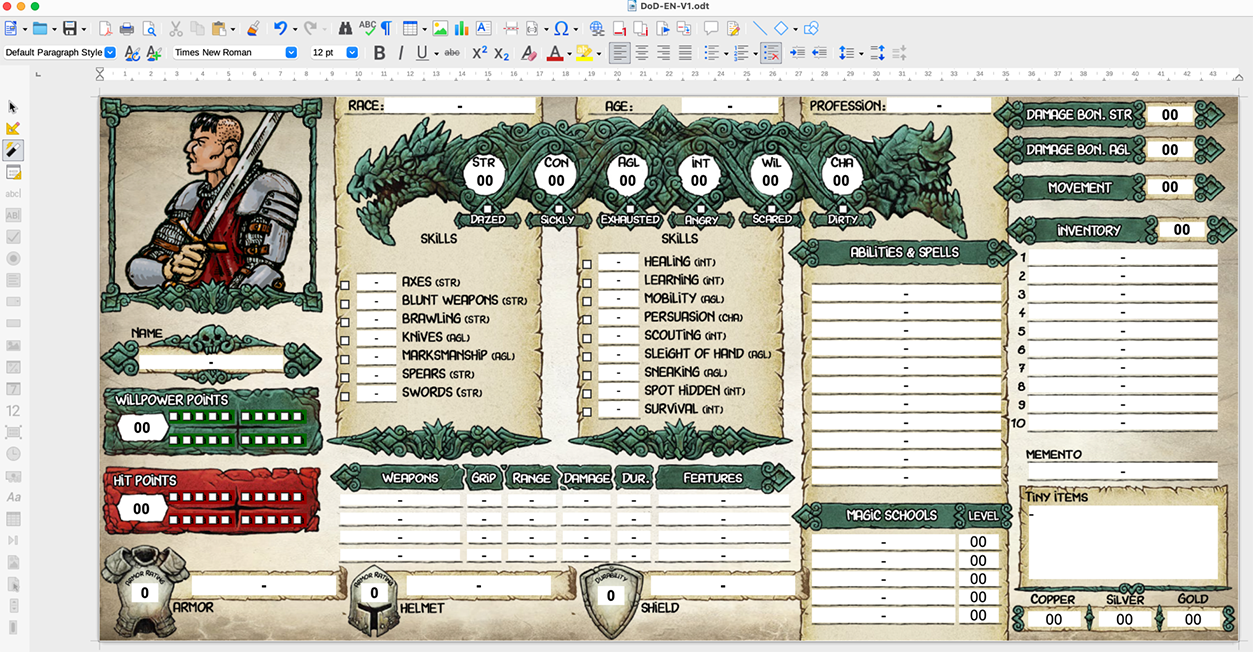
When playing online, I generally use Runehammer VTT, Owlbear Rodeo VTT, or similar simples VTTs, using paper and pens for any information that I want to keep on hand. Some players seem to prefer to have their character sheet on the screen, so, I generally make some fillable character sheets that they can use alongside the program, in another tab.
I had backed the test drive rules of Dragonbane and they really look to be right up my alley in style and complexity. When the final edition was released, I was a little disappointed by the differences from the test drive rules and let it down for a moment. I have gone back tot the rules and found that I could live with those changes (except maybe the rest rules, which have a quite classical problem, but that's a discussion for another day and easily solved anyway).
So, I decided to remake the charsheets I made for the test drive rules, but this time adapted for the final edition. The user guidances are, of course the same as those for the test drive, but they are repeated here for ease of use.
Finally, I have only the official character sheet in english. I have translated it in french myself for the french version, but I could have to remake it later if the french edition translates some things differently.
Here is how the result looks like. Read further to find the files for your own use.

1- Simple PDF charsheets, without illustrations: open and use

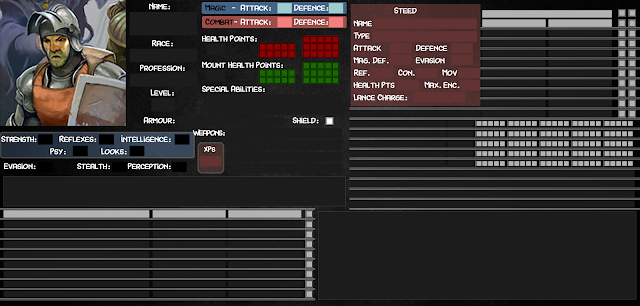
2. Charsheets with character illustration, open the ODT file and export to PDF

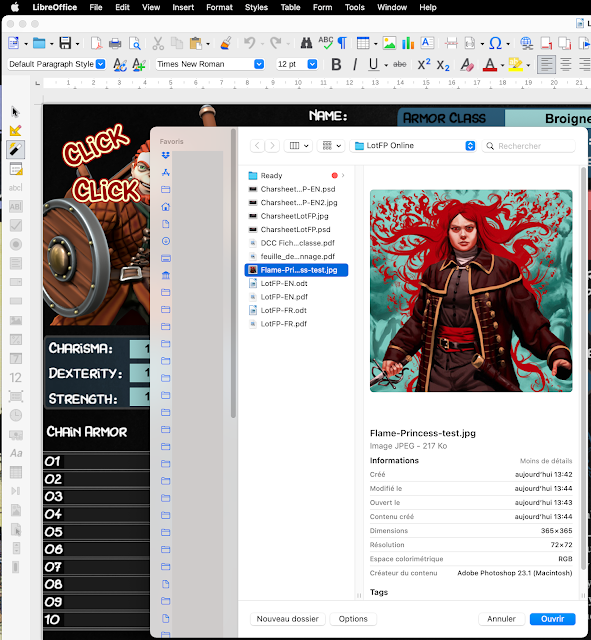
To fill that image field with an image of your choice (more or less square images are going to work best), open the odt file:

Check that you are not in design mode (Form Menu > Design Mode):


And that's it. If you open the pdf form in a tab alongside your VTT page, you have a charsheet as accessible as those imbedded in other online VTTs.
3. Placing the character illustration into a frame with the same style as the Character Sheet

If you want to take the Dragonbane style appearance a little bit further, you can make the illustration of the character in the same style as the rest of the character sheet.
To do that, you'll have to open a PSD file containing the frame with GIMP or Photoshop and export the portrait from there. I'll show how to do it with GIMP, because I assume that if you pay a monthly fee for Photoshop, you already know how to use it (and the steps are the same anyway).
Step 1: Open the PSD DoD-Portrait file with GIMP: